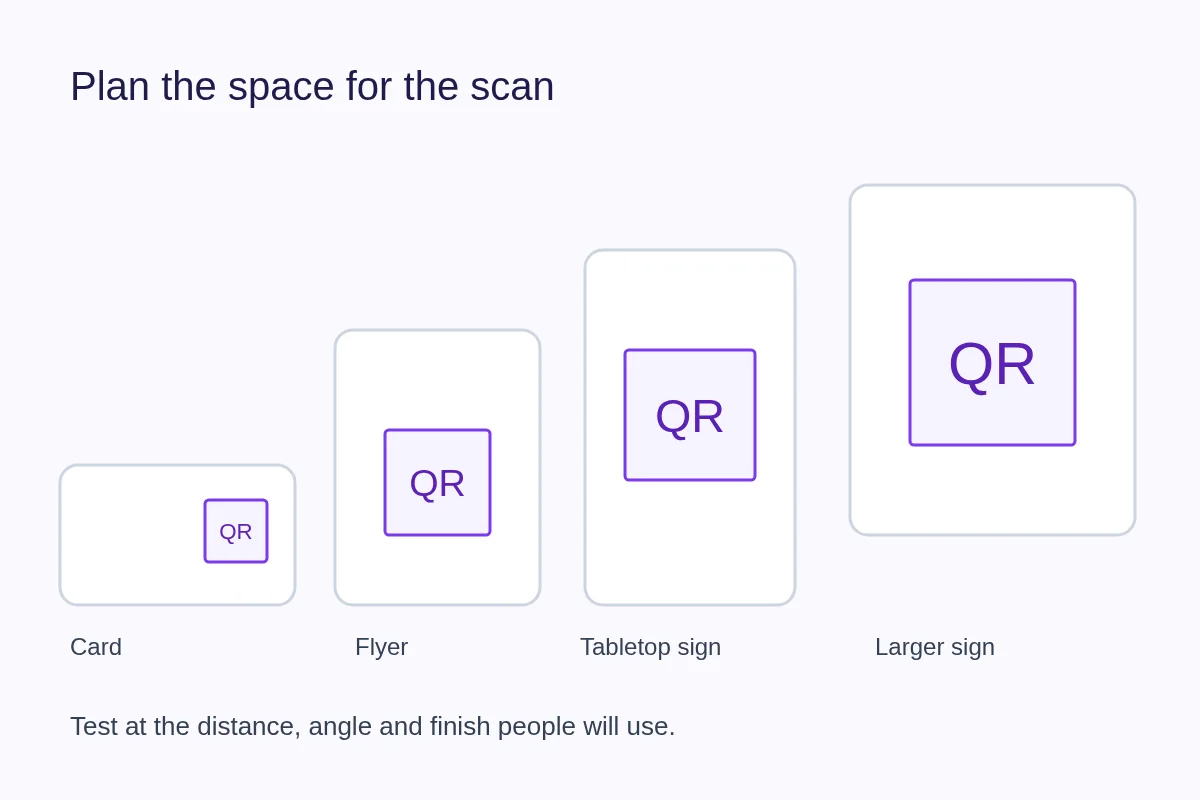
There is no single QR code size that guarantees a scan. Choose a size for the code's density, viewing distance, print quality and surface, then test the finished piece. Measure the whole printed area, including the empty margin.
Start with modules and the quiet zone
A module is one small square in the QR pattern. More encoded information can require a denser pattern. At the same overall width, a denser code has smaller squares, making print quality more demanding. A short destination can leave more room for each square than a long payload.
A standard QR Code needs a quiet zone at least four modules wide on each side. DENSO WAVE explains the margin and area calculation. Do not crop the white border to make the code fit.
For example, a pattern 29 modules across with four modules of margin on each side needs 37 modules in total. At a chosen module width of 0.7 mm, the complete square is 25.9 mm wide. This is a geometry example, not a minimum-size recommendation or a promise of readability.
Plan by where people will scan
| Material | Planning decision | Proof condition |
|---|---|---|
| Business card | Reserve roughly 25–30 mm square for an initial close-range proof, including the margin. | Hold the card naturally; check the actual final size on several phones. |
| Flyer or sticker | Start with how close someone can comfortably approach; enlarge beyond a card-sized proof when needed. | Test on the mounted surface, including texture or curvature. |
| Tabletop sign | Make the code readable from the seat or standing position you expect. | Test across the real table, including overhead reflections. |
| Larger sign | Allocate space based on the actual viewing distance, not the remaining corner of the design. | Test at that distance and angle on a full-size proof. |
The card range is an editorial starting point for testing, not a standard. If the code needs careful aiming, unusually bright light or a very close phone, give it more space. A distance-to-size ratio alone cannot account for every camera, payload, finish or display.
Keep edges sharp through export and printing
Use an original vector export when your print workflow supports it. For raster artwork, avoid enlarging a small image or saving it repeatedly in a lossy format. Check the printer's required resolution at the intended physical size. A code that looks sharp when enlarged on a monitor may still be too small on paper.
Dark modules on a plain light background are a sensible starting point. Patterns, transparent backgrounds and reflective materials need extra care. Error correction should not be treated as permission to obscure the code with decoration.
What to change when it fails
First determine whether the camera recognizes the pattern. If it does not, check for a missing margin, blur, low contrast, glare or distortion. Increase the size or simplify the artwork, then repeat the same test. If the camera recognizes it but the page will not load, investigate the address, access rules and connection instead.
Use the pre-print test checklist to record a repeatable result. For curved and folded materials, follow the packaging guide. Final approval needs a physical proof; this page cannot certify a print design.