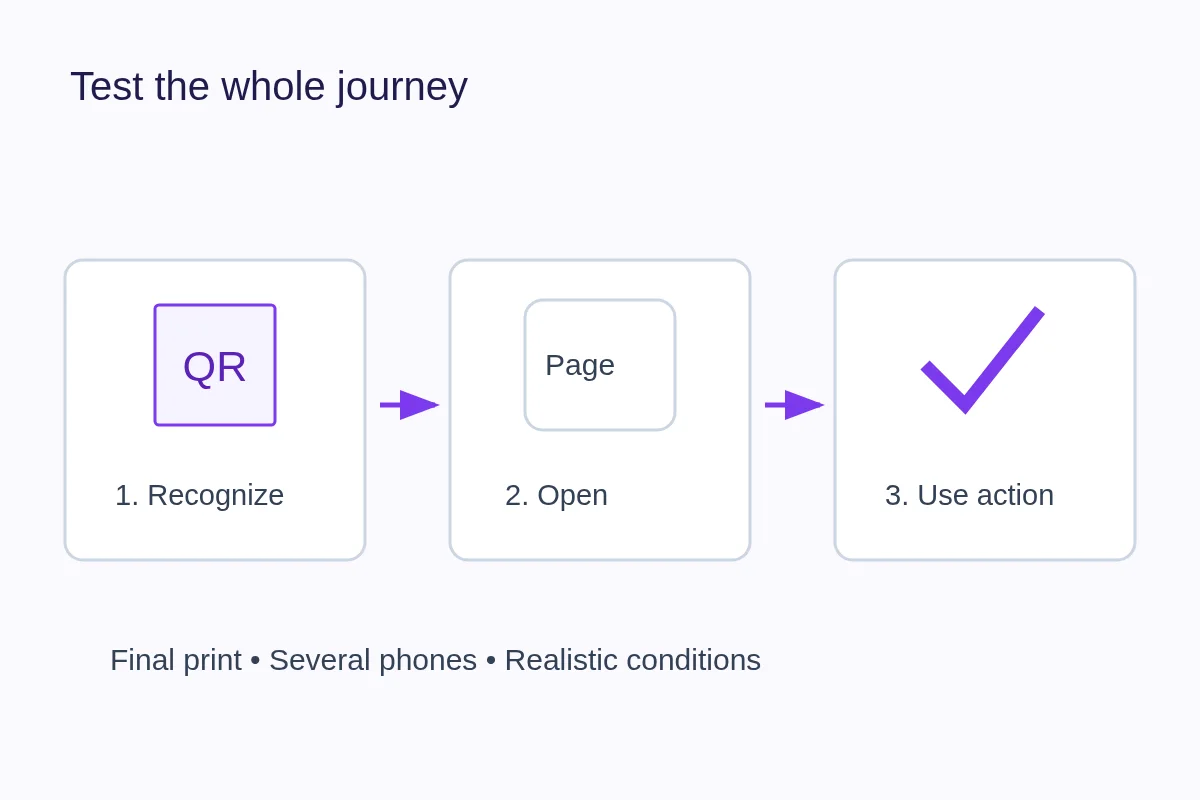
Test the final artwork at its actual printed size, on more than one phone, in the conditions where someone will use it. Check the whole journey: camera recognition, correct destination and the promised action. Repeat after any artwork change.
Prepare a representative proof
Use the file you intend to send to the printer. Turn off “fit to page” and measure the printed QR, including its quiet zone. A screenshot or enlarged office print cannot prove a smaller final design.
An ordinary paper proof can catch the wrong address or an obviously small code. Before a larger order, check a sample with the actual stock, finish and mounting. Gloss, lamination, glass and curved surfaces can behave differently. On packaging, test the assembled item rather than a flat label alone.
Run the same sequence on each phone
- Use a phone that is not signed into the destination as its owner. Open its normal camera.
- Hold the proof at a natural scanning distance and angle. Record the measured distance so you can repeat it.
- Check whether the camera recognizes the code without zooming or repeated repositioning.
- Open the offered link and verify the domain and exact destination.
- Find the action promised on the print. Open the link, call option or contact download as appropriate.
- Repeat under the lighting and mounting conditions you expect. Close the camera between attempts.
Use at least a second phone with a different camera or operating system if available. This is a useful check, not evidence that every device will work. Keep a short URL or readable contact fallback on the printed material.
Record failures separately
| Record | Example entry |
|---|---|
| Artwork | Business card revision B; final-size paper proof |
| Setup | Phone model, camera, measured distance, lighting and finish |
| Recognition | Recognized in each attempt, or needed moving closer |
| Destination | Correct profile opened while signed out |
| Action | Contact file downloaded and fields reviewed before import |
| Decision | Accept or revise; reason and date |
Choose a fixed number of attempts for each condition and record successes out of that number. Do not combine an easy desk test and a failing window test into one reassuring total. Repeated difficulty in an intended setting is a reason to revise.
Match the fix to the failure
If the camera cannot recognize the pattern, check size, contrast, sharpness, glare and the clear border. Move the code away from folds or trim, or enlarge it. The size guide explains the variables.
If it recognizes the pattern but the link fails, test the destination directly on the same network. Check access settings and redirects. If the page opens but the contact action fails, review that field or external service. Reprinting a larger code will not fix a broken booking link.
Approve the final version, then keep checking
Retest after a new export, resize, logo treatment or destination change. Retain an approved proof and its notes. Check a sample from the delivered batch before distributing everything.
For QRown, your signed-in owner access can differ from a visitor's, and owner scan tests may be excluded from Statistics. A camera attempt that never opens the QR link cannot be counted there. Keep this proof log separate from campaign scan reporting.