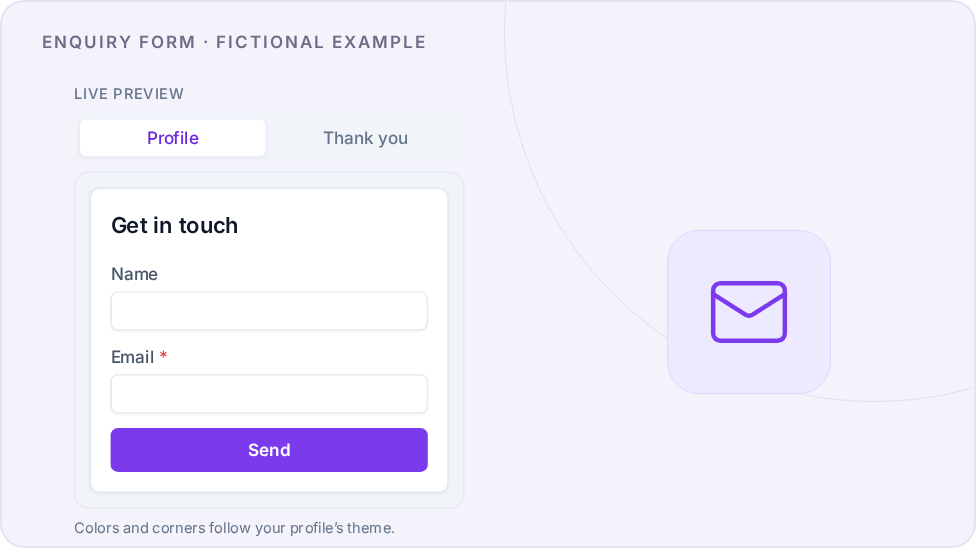
A Lead Form gives visitors a clear way to ask about your work. Choose one purpose for the form, explain what to send, and say what happens after submission. A specific invitation is easier to answer than a blank “Contact us.”
Three invitations you can adapt
- A service enquiry: Headline: “Ask about a portrait session.” Subheadline: “Tell me who the session is for and your preferred month.” Use Name, Email, and Message when your plan allows them.
- A project quote: Headline: “Tell us about your project.” Subheadline: “Include the type of work, your location, and your target date in your message.” Ask only for details you will use to reply.
- A callback request: Headline: “Request a callback.” Subheadline: “Leave your number and a good time to call.” Include Phone and Message if available, and keep Email as the required contact field.
The available fields are Email, Name, Phone, Company, and Message. Email stays on. Other fields depend on your plan. Ask for details such as dates or project scope in the introduction and let visitors write them in Message; the editor does not create separate custom questions.
Choose where the form opens
- On your profile: Visitors can start typing as soon as they reach the section. This fits a page focused on enquiries.
- Button to a page: A button opens the form on its own page. Use this when visitors should read your services or examples first.
- Button to a popup: A button opens the form over the profile. Check the whole form on a phone, especially when you enable several fields.
Set up the form
- Add Lead Form from the profile editor's section picker.
- Under How it opens, choose the placement that fits the page.
- Write the headline and subheadline under Introduction. For a button layout, choose a useful button label, such as “Ask about a session.”
- Under Fields, switch on what you need and drag fields into a natural order. Set the submit button text to match the action, such as “Send enquiry.”
- Under After they submit, write a thank-you headline and message. Add a follow-up button only when there is a useful next destination.
- Use the preview to check the profile, form, and thank-you steps, then save.
Set an honest expectation after submission
For example: “Thanks for your enquiry. I will reply by email within two working days.” Use that wording only if it matches how you work. A follow-up button labeled “View session options” can point to a useful page without asking the visitor to send the same information again.
The thank-you message confirms that the form was sent. It does not confirm a booking, approve a quote, or send a personal reply for you. Review enquiries in your Leads Inbox and follow up yourself.
Test the whole enquiry
Open the public profile on your phone and send a clearly labeled test enquiry using your own contact details. Confirm the thank-you message and any follow-up link, then check that the enquiry arrived in your Leads Inbox. This creates a real test record.
If visitors need to choose an appointment directly, use an existing scheduler instead. See the booking-service guide for that setup.
Explore Custom Forms and Leads Inbox for the enquiry and follow-up workflow. See how event professionals receive client enquiries in context.